
What Terrifies Mastering Engineers: LUFS Loudness Normalization
LUFS normalized comparisons are the deep career-ending fear of today's mastering engineers. We are in an awkward part of history where the 1990-2010s fad of peak removal for “loudness,” which arrived with the new technology which was the digital peak limiter, has been invalidated by the invention of yet newer digital technology—LUFS loudness normalization—but the old guard are still in place, conducting business as usual.
LUFS normalized comparisons are the deep career-ending fear of today's mastering engineers. After a career of making things “loud,” loudness normalizing reveals what they have really done.
We are in an awkward part of history where the 1990-2010s fad of peak removal for “loudness,” which arrived with the new technology which was the digital peak limiter, has been invalidated by the invention of yet newer digital technology—LUFS loudness normalization—but the old guard are still in place, conducting business as usual.
For those not familiar, LUFS is an algorithm which looks at average audio loudness (taking into account that harsh upper frequencies sound louder to us than lower frequencies, volume swells across the song, plus other variables) and calculates a loudness value so we can listen back to songs at the same level for comparison to see if we have made things better/worse in production, or just for general listening. It’s available in just about every audio editing app, including all DAWs, and is used by streaming companies like Spotify, YouTube, etc.
“Back in Black”: the original vs the remaster, normalized to -14 LUFS equal loudness.
If you do two masters, -8 and -14dbfs, both done well (* see footnote), then normalize both to -14 LUFS so you’re listening at the same average loudness, the one with peaks removed sounds flat while the other explodes out of the speakers…in most every case. It’s not that complicated. Basic math: the former has peaks which are weirdly squared off at exactly the same computerized level of -6, a full 6db quieter than the latter which extends naturally with varying peak levels all the way to 0dbfs (see illustration). The best example of this is how nearly every rock remaster sounds worse when LUFS normalized, despite advances in technology (e.g. Back in Black, Nevermind, Violator, etc). “Back in Black,” pretty much universally recognized by everyone as a phenomenal recording, is the perfect and exceedingly fair example. How could taking a band and mix with phenomenal dynamics and modifying their peaks to robotic levels actually make it better? Actually we would expect it would make it worse since there is zero artistic need to be doing that. But it’s not until you actually do the exercise of loudness normalization that this becomes clear as day. What has changed is that this normalized playback technology is now readily available, and automatically in play in many cases. The loudness game has flipped—it’s actually the -14 masters which sound louder (and better) than the -8.
And it’s not even close; that’s why mastering engineers don’t give LUFS normalized comparisons to clients as a responsible standard industry practice, and in my personal experience 100% of US-based mastering engineers outright refuse to do -14 levels. It’s only then, when we have a loudness-matched non-destroyed comparable, that the sophistry of "well it still sounds pretty good relative to trash" becomes apparent. And the destruction they are doing to recorded music, becomes evident. That’s why industry guys get nervous and circle the wagons, like on this quite telling thread at Gearspace, anytime this topic of LUFS comes up. There’s always a long list of pseudo-technical reasons, which don’t really make sense, for why we shouldn’t do it (i.e. make the BEST sounding recordings, not just less bad given a non-existent and/or self-imposed requirement for degradation). And one other thing is for sure, illustrated by the above thread: the story that “we don’t want to make it this loud, the labels are forcing us” is a lie. Master engineers are fully pushing this, insisting on it, even when indie clients with no label pressure want them to stop it. With the destruction of the music industry around 2000 due to piracy, and labels shutting down, mastering engineers moved into the new market of selling their services every-day self-producing musicians and hobbyists. So there’s no fantasy evil label; now it’s just them.
To conclude, this era’s extremist normalization of peaks has had so many consequences to recorded music: 1) it’s relatively flat sounding with muted pillow-like transients, 2) the removal of peaks removes definition, which then leads to over-equalization such as sucking out the lower midrange and boosting shrill top end to get definition back, 3) normalizing peaks by definition removes variation, and variation is music, 4) it decreases artist legitimacy, making things sound more synthetic (i.e. “disposable pop”) with each peak hitting the same computer-processed level, 5) stereo shrinks, as varying peaks at the edges contribute to the perception of width… and on and on the list could go. It’s really been a dark time for recorded music, with it getting worse sounding despite advances in technology. Now LUFS standards potentially end this era. And there’s nothing lost; no downside. One would think professionals who have devoted their life to tiny sonic adjustments in order to make recordings their best would be on board with that—but they are not. It feels like we’re stuck in a transitional period, but still firmly on the side of the past.
(*) Footnote: regarding my earlier statement “two masters, -8 and -14, both done well done,” the thing is these engineers probably can’t do both well anymore—they’ve spent their career, decades since the 90s, on techniques/tools to obsessively remove peaks and limit the dynamic range into a miniaturized version. It’s an art, admittedly. Now they’re dug in—still invested in the old loudness regime, which has been invalidated by loudness normalization—even though anyone who's not half-deaf can hear that streaming-optimized levels of -14 sound vastly better. And what’s crazy, for those obsessed with loudness, is that lower LUFS masters generally sound louder than the “loud” version when normalized. But this thinking of -14 as the new 0, instead of 0 as 0, is a completely different mode, which requires different techniques and gear to optimize to…and the old guard just aren’t set up for that.
Examples
For education purposes here are 30 second clips of some classic recordings from the rock world, and the remaster. The entire song has been normalized to the same loudness, -14 LUFS, then these are clips from within those normalized songs that I think illustrate the point clearly (yeah these selected original clips turned out to be ~0.5db louder than the remaster, but that’s just how this works). Start with some full songs, normalize them, and check it out for yourself. You should load these into your DAW on different tracks, and then set it up so you can undo/redo to swap mutes in order to seamlessly switch between them with one click while it’s playing. It’s not hard. Anyone with a decent system and even amateur ears can hear the “quiet” master is both bigger and more spacious, as well as wider, and more defined, and just better in nearly every way despite old technology back then and extremely talented people with the best gear now.
Since this is seen over and over again, for decades, the obvious conclusion on a rule (with perhaps an occasional exception): you can’t beat a master by aggressively taking off peaks. How could you? That doesn’t even make sense, why would that sound better? Especially when these mixes already had killer, world-famous, dynamics? Yet the industry automatons just keep doing it automatically, no matter if the music’s dynamics need taming or not…
AC/DC “Back in Black” original vs remaster (clips)
Nirvana “In Bloom” original vs remaster (clips)
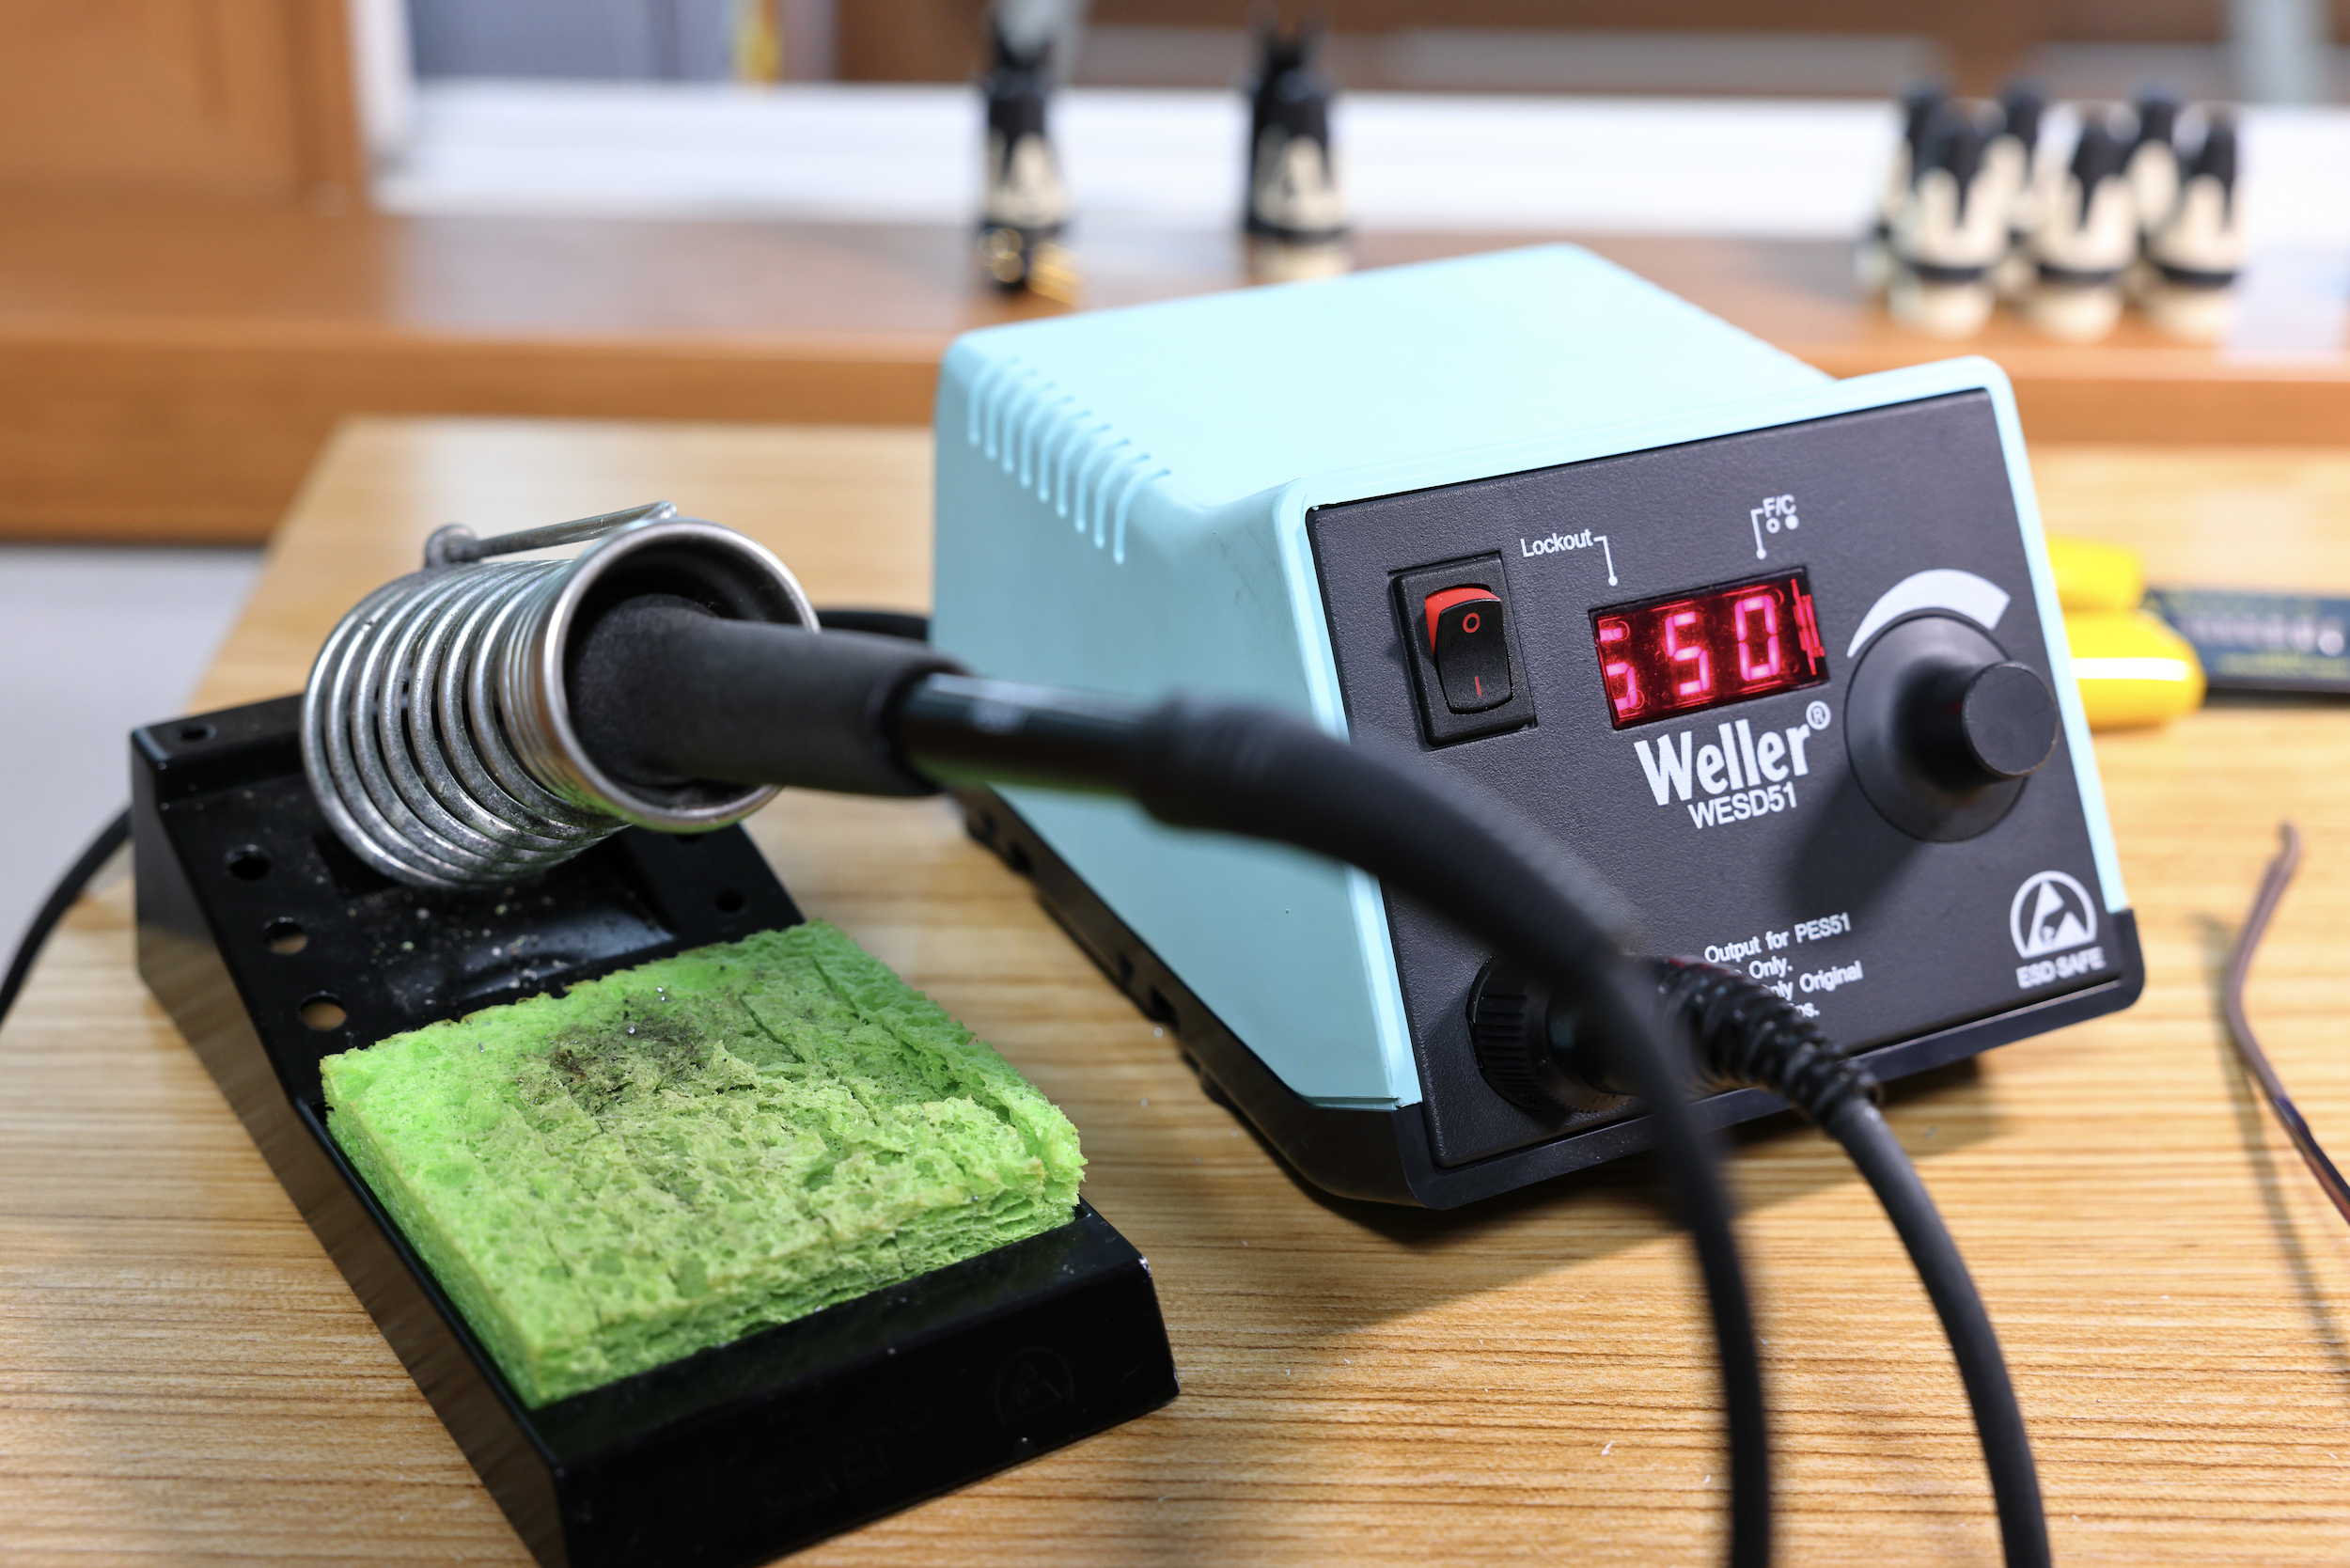
Pendulum OCL-2 Side chain EQ
A quick soldering project to make 160Hz high-pass filters for the Pendulum OCL-2 compressor. These fit inside a stereo plug (TRS) and provide a 6db per octave rolloff of lows on the compressor’s side chain EQ, so it doesn’t trigger so aggressively on low frequencies. It’s actually quite transformative, giving the unit a different gain reduction action.
A quick soldering project to make 160Hz high-pass filters for the Pendulum OCL-2 compressor…
These fit inside a stereo plug (TRS) and provide a 6db per octave rolloff of lows on the compressor’s side chain EQ, so it doesn’t trigger so aggressively on low frequencies. It’s actually quite transformative, giving the unit a different gain reduction action.
From Greg Gualtieri at Pendulum:
"The input impedance of the sidechain ring input is 10Kohms. The equation is defined for R in ohms, C in Farads. Typical caps are in microfarads, or 1x 10 to the-6 Farads. So, if you connect a 0.1 microfarad (uF) cap across the tip and ring of a stereo plug, you get a 6dB per octave rolloff at 159Hz. For a 0.05uF (two 0.1uF caps in series), you get 318Hz. And so on. No resistors needed. The smaller the cap, the higher the rolloff frequency. The audio quality of the cap doesn't matter, since it's in the sidechain."
You can change the capacitor size, but 160Hz seemed the most generally useful. Parts used were a Neutrik NP3X-B stereo plug and a Nichicon 0.1uF capacitor…
There was an online discussion on the topic here.
Metric Halo MkIV—Tech Test
A quick test of the Metric Halo MkIV—just a raw drone off the modular synth, captured 8-track into these new A/D converters. They sound “flat,” sort of “matte,” in a cool non-hyped way. Most importantly, they just feel more pleasingly musical to me. See attached 96kHz files.
A quick test of the Metric Halo MkIV—just a raw drone off the modular synth, captured 8-track into these new A/D converters.
Recording Setup

Recorded two segments of 8-track audio into the Metric Halo 3D converters, from a modular synth which was playing back previously recorded midi tracks. Then opened up the Metric Halo box, installed the new MkIV analog board, and recorded the same two segments. Meticulously tuned the synth before each take. Normalized all recorded tracks (8x2) to the same LUFS level, performed a quick digital mix, and printed both sets of recorded audio thru these same mix settings. See the first set of files below.
Mixing Setup
Next I updated one of my mix desk’s LIO8s to MkIV. Then took the existing MkIV recorded tracks, left all mix settings the same, but instead of digitally summing I routed the tracks out 8 of the new D/As, into Dangerous 2Buss+ summing, into a Pendulum OCL-2 compressor, and captured the analog mix with the new MkIV converters. This is an example of 18 conversions (8 A/D + 8 D/A, + 2 A/D)! In order to have a comparable, I routed the 3D recorded tracks thru the same analog chain, but instead used the D/A A/D of my 3D box which I hadn’t yet updated. So here we have 18 conversions of the 3D sound too. See the second set of files below.
Listening
Note: when you download the files and A/B between them the sound will shift due to three factors unrelated to the converter comparison: 1) no oscillator sync, 2) no stereo chorus sync on the organ sound, and 3) no sync on the wandering stereo white noise LFOs in clip B. It’s a flawed test, like all tests, but doesn’t prevent me from “hearing thru” to the different sonic characters.
The Sound
I’ve always found the LIO-8 A/D converters to have a “pokey” top end, somewhat so with the low end too, with the lower mids ending up feeling a bit anemic. In relation, MkIV’s low mids are big as a house, wide and deep. There’s no pokey-character to the top end, at all. As far as bass it perhaps feels fatter and smoother, maybe due to better low-mids?
All in all, my first impression of these converters is that they sound “flat,” sort of “matte,” in a cool non-hyped way. Most importantly, they just feel more pleasingly musical to me. Especially the capture of the Pendulum tube opto conpressor felt natural and musical—this is a unit with lots of subtle analog detail, wide stereo, and depth, to really challenge these converters.
Files
Recording 3D: https://www.icloud.com/iclouddrive/059Gs-j5t7hqbMaWgbgTxb-pw#SYNTHCLIPS_1-TRACKING_3D
Recording MkIV: https://www.icloud.com/iclouddrive/057z3Yjym_sr0B8GBg6nU0ZJw#SYNTHCLIPS_1-TRACKING_MK4
Mixing 3D: https://www.icloud.com/iclouddrive/087_Ts5-6hLZw99-k25nk18fw#SYNTHCLIPS_2-MIXING_3D
Mixing MkIV: https://www.icloud.com/iclouddrive/09fxg2RXsjT9le_nynrZo8fmw#SYNTHCLIPS_2-MIXING_MK4
Tips for Recording Modular Synth
Much has changed with recording technology, but the fundamentals of recording remain the same. For example, running 0VU levels! For modular synth ideally you want to be running average levels of 0VU thru its internal chain of modules, outputting 0VU at its VCA, and hitting the A/D converter set to “line +4.”
Much has changed with recording technology, but the fundamentals of recording remain the same. For example, running 0VU levels! For modular synth ideally you want to be running average levels of 0VU thru its internal chain of modules, outputting 0VU at its VCA, and hitting the A/D converter set to “line +4.” If you’re inserting gear between the VCA and A/D, like a preamp or compressor, then you want those units to be studio quality and also running 0VU levels.
The easiest way to muck things up in recording is by not paying attention to this rule. In modular, we can twist knobs, chain this into that, and end up driving modules in the chain at radically different gain structures, outside of their sweet spot. For example a MOTM-440 filter sounds fantastic, but it sound quite different with different settings of the input knob (which drives its filter)…and that driven filter is then outputting a higher level to the VCA…which in turn outputs hotter levels to the A/D converter (which can also show higher distortion at levels near to top of its range). Cranking up levels in general tends to yield higher distortion, lower dynamics, and a clogged up lower-midrange, which can become a problem in mixing. Establishing 0VU as the standard clears up a lot of problems before they happen.
Use studio quality cables throughout your modular synth (Neutrik connectors, Mogami cable, etc). Mogami makes flexible “3080 AES/EBU 110” which works great for patching. This “digital” cable works the same as analog cable, it’s just manufactured at higher specs. As far as wiring, your synth is unbalanced (2 wires) and your A/D input is balanced (three wires), but you can run this 3 wire “balanced” cable and ground the cold wire in the TS plug at your synth’s output. Or just use standard 2 wire instrument cable, that doesn’t matter, it’s just about using studio-quality (Mogami/Canare).
Finally, tune your synth before hitting record!
Roland TR-66 Rhythm Arranger
The Roland TR-66 Rhythm Arranger is an analog rhythm machine from 1973. The following are my notes on it, including how to open it up and sample it. In general, I find the sound quite interesting in that it’s more “rounded” and “lounge” than tight snappy electronic-sounding CR78.
The Roland TR-66 Rhythm Arranger is an analog rhythm machine from 1973. The following are my notes on it, including how to open it up and sample it.
In general, I find the sound quite pleasing in that it’s more “rounded” and “lounge” than the tight and snappy CR-78. The kick is mellow but with a cleanly defined thump at 60Hz (decay is tunable via an internal trimmer, but not the pitch). The high conga, low bongo, and high bongo are simple but recognizable classics (both decay and pitch are tunable via internal trimmers). The rim, clave, and cow bell are all tight and highly usable (they take reverb well). The snare is okay but can be a bit crude unless you get a well-tuned sample (the amount of white noise is adjustable via an internal trimmer). The hat and cymbal are a bit trashy sounding; they need processing to get rid of annoying frequencies. The top end on this unit extends beyond 40kHh!
VOICES (10): bass drum, low bongo, high bongo, high conga, rim shot, snare, cow bell, clave, cymbal, high hat.
PATTERNS (27): each with A and B variation. "Auto" mode alternates between variation A and variation B. You can press multiple pattern buttons at once to combine rhythms.
Notable Use: Dust Brothers Fight Club score "Corporate World." Roxy Music "Dance Away."
Controls
BALANCE KNOB: This adjusts the relative levels of the kick and hat/cymbal (it’s not an EQ tone knob), while holding the midrange sounds constant. So if you turn counterclockwise you get more kick and less annoying hat. Around 9-10 o'clock is a balanced sound between the kick/hat, that's pretty much the usable range of this knob. Note you can not get isolated hits this way, as the hat/cymbal will not mute.
IN/OUT: The low impedance out (10k Ω) gives “semi-pro” line -10 dBV levels for recording, and there’s also a high impedance out (100k Ω, lower-gain). Additionally there’s a “start” input for connecting a foot switch.
How to Sample It
The 1973 service manual can be a bit hard to decipher, here is how you trigger individual sounds for creating your own samples. First remove the four screws on the base. The TR-66 will then slide out the rear of the wood case.
Conveniently located on top you will see the Sound Generator Board. There is a cut out section in the metal platform on which the Sound Generator Board is attached, which allows you to access a small portion of the Rhythm Switch Board below. That is where you will find "terminal 5" (which is referenced in the service manual). Term5 is outputting a trigger at the tempo set by the front knob. Put the box in play, no rhythm buttons engaged, and run a wire from term5 to the sound you want to trigger. This generates a waveform at the 1/4" outs, at the same volume and sustain as the box normally outputs (I experimented with using my own trigger, but it produced erratic results for level and sustain).
Situated around the edge of the Sound Generation Board are nine terminals, which trigger ten sounds. Moving clockwise starting with the snare drum you will see terminals labeled: SD, HH, CY, C, RS, HB, LB, HC, BD. The RS terminal normally outputs a cow bell, but if you push the "bossa nova" button in around 3/4 (without actually making it click in) this terminal will output a rim shot (the service manual mentions something about grounding/ungrounding the CB SHUNT terminal to get these two sounds).
Tuning
On the sound generator board you will find eight off-white trimmers for tuning the sounds. These are labeled: BD DT, HC DT, HC FRQ, LB DT, LB FRQ, HB DT, HB FRQ, and CY.HH.SD VAR.
"FRQ" trimmers: these give you some control over the pitch of the three toms (HC, LB, HB), however the available range is narrow. If you go too low the drum may start to become a lump of noise with no definitive pitch, and if you go too high it may start feeding back. Interestingly the snare sound contains the low bongo sound within it (the SD fundamental is fixed at around 280hz, and the LB is adjustable around 400hz). So tuning this bongo also changes the sound of the snare (I tune it to a just intonation relationship).
"DT" trimmers: these give you control of the decay time of the bass drum and the three toms. It is especially useful for the bass drum; you can get anything from a tight 65ms snap, and a long 650ms boom.
"CY.HH.SD VAR" trimmer: this controls the level of the white noise. Turning this adjusts the snappiness of the snare, from completely muted (this could be considered a secret 11th sound!), to bright and raspy. Also, when sampling the HH/CY turning up this trimmer gives you a better signal to noise ratio.
Original documents
MOTM-650 Tuning Table Customization
Here is the process for customizing the MOTM-650's tuning table with your own tunings. The MOTM-650 uses Midi Tuning Standard (MTS), which was designed by Robert Rich back in the early 90s. You just need a simple program to write MTS files, and transfer them into the 650.
Here is the process for customizing the MOTM-650's tuning table with your own tunings. The MOTM-650 uses Midi Tuning Standard (MTS), which was designed by Robert Rich back in the early 90s. You just need a simple program to write MTS files, and transfer them into the 650.
The Process on Mac:
The MOTM-650, micro-tunable midi-to-cv converter
Download Max Magic Microtuner (MMMT), and get a license.
Connect a Midi In/Out interface to your mac (something simple like the M-Audio Uno will work), and connect the in/out cables to the MOTM-650.
Open MMMT, and select your Midi interface on the Midi Settings Palette, from the drop down list.
Now create a custom tuning using the MMMT program (you might need to read the instructions).
Alternately, if you are like me and find MMMT excessive, you can import a standard Scala (.scl) tuning file into MMMT. Just click the "Import SCL" button. Make sure the "Expand at Load" box is checked so that your scale expands to cover all octaves. If you don't know, a scala file is a very simple text file, it's just a list of pitch ratios, or cents.
Finally, send the tuning from MMMT to the MOTM-650. From the Midi Settings Palette click "Send tuning via SysEx". A box will come up with a few options. Leave everything alone except 1) select the tuning program number you want to overwrite [you can't overwrite #0 equal temperament, so start your tunings at #1], and 2) type in an eight character name. Click send.
Your new tuning should now be in the MOTM-650!